Mini-challenge - May 2023
Chapter 1
For this month’s challenge, we’re embracing the coming summer months and our SolarPunk vision to see if we can charge our electric motorcycle with the power of the sun!
First, we had to set some boundaries for our challenge, we went with a budget of €250, and at least half of the components had to be 2nd hand (bonus style points for 100% 2nd hand parts)
Next, the research started! None of us are electronics wizards, so there was a lot of learning in this phase, but after a lot of googling and reading, we decided to go for a battery-less off-grid solar system. This basically means the solar panel will only be powering things when the sun is shining - a limitation in some ways, but kinda cool in others! It also means we don’t need an expensive battery to store the energy, and thus can allocate more of our budget to other components - such as solar panels.
So, onto the shopping! A lot of time was spent trawling through Marktplaats to find some deals, and we eventually found some 150W panels that we could string together to get our desired power output, and they were well within budget (although a little old). Then, a DC-DC converter from Farnell, and eventually managed to find a 2nd hand Inverter on Marktplaats.
Total came to around €120, well within budget, and over half the parts are 2nd hand - mission accomplished (almost). Next step will be to assemble everything and test to see if any of this actually works!
Chapter 2
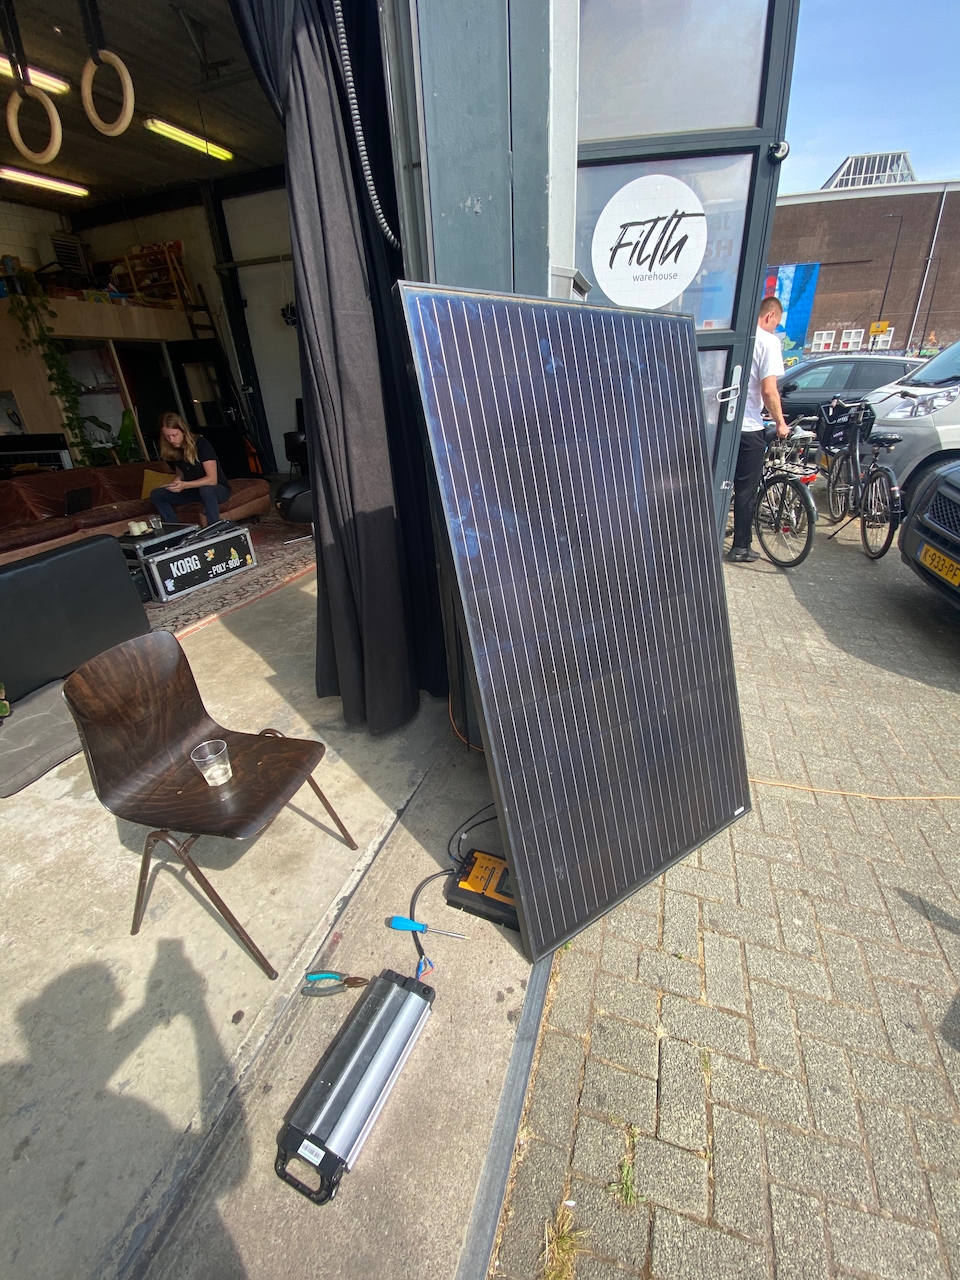
After all our components and parts arrived, our next challenge is to figure out how to wire all of this stuff together and do some testing. Turns out, wiring things properly is a lot more difficult and fiddly than it looks! After bumbling around with the DC-DC converter, we realised that we bought something that wasn’t suitable for what we were building, and had to find a more standard buck converter that should suit our needs - Ooops!
With our new DC-DC converter in hand, it was time to wire it together and test our output! A lot of electrical tape and one blown multimeter fuse later, and we can see that our converter is performing our voltage step-down perfectly! Next, a very simple connection to the DC-AC inverter and hookup to a test lamp and voila, we have power!
Chapter 3
Now, we have our proof of concept working, time to test if our setup has enough power to work with our electric bike charger!
Our bike charger needed a minimum of 250W to work, otherwise it automatically switches off and won’t charge the battery at all. We tested and found that on a strong sunny day with the panels facing the sun, it was just enough power to activate the bike battery charger, but even just a tiny bit of shadow over one of the panels would drop the power enough to stop the charger from working.
So, technically we’ve achieved our goal, and well under budget - yay! However, we also recognise the limitations of our current setup and are already working hard to design the next version of our system - hopefully making the setup much more useful!
Chapter 4
With our working proof of concept completed, our attention switched to a new design - this time including batteries!
Our goals were similar to before, low budget (around €250), mostly 2nd hand materials, but this time with a higher power output, and utilising a battery and a solar charger to make the power we produced much more practical to use!
We decided on some newer solar panels which had almost double the output, then, a used solar charger with an integrated BMS (battery management system), and of course, a battery - which came from an old electric bicycle. All the parts were sourced second hand from Marktplaats, and in total came to around €230.
Due to the solar charger and the consistent voltage of all the components, this setup was far easier to put together. All that’s left is to hook up the DC-AC inverter that we used for the previous setup, along with a power strip, and then all of our consumer electronics will be able to be powered by the sun!
Chapter 5
After putting all the latest components together for another test (including the inverter and a power strip), we confirmed that we could have our consumer electronics powered by our new setup - great! Now our attention turned to a more permanent fixture on the outside of the warehouse.
The rough idea was to fix both the panels to the outer brick wall, wire them in parallel (to keep the voltage the same) and then run the wires back into the building to be connected to the rest of the setup mounted on the inner wall. This setup would then be connected to a power strip which anyone could use to charge their phones, laptops, and don’t forget the electric bike!
We were given some roof mounting rails with the panels, but after a inspecting, these sort of rails won’t be particularly helpful for mounting to a brick wall, so unfortunately we may have to source some different ones to make our lives easier when getting these two large panels attached.
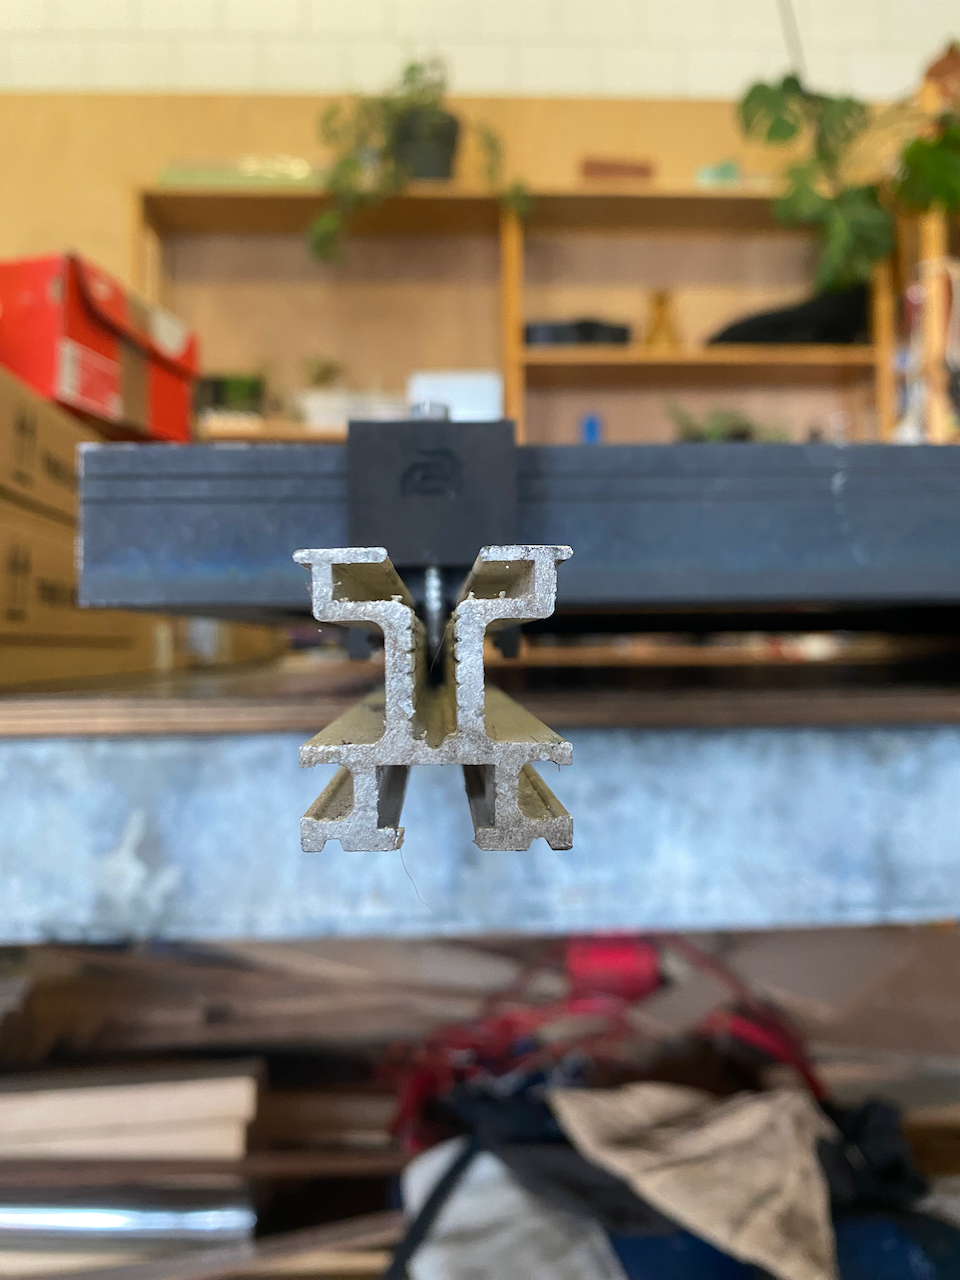
There are plenty of different types of mounting rails for solar panels, each for their own application - so research is still ongoing as to which ones we will go for.
Stay tuned for more solar adventures!